Six steps to a fixed, full-arch smile.
Planning is most of the work, and it happens before anyone picks up an instrument. Here is every step, in order, so you always know what comes next.
Consultation and 3D scan
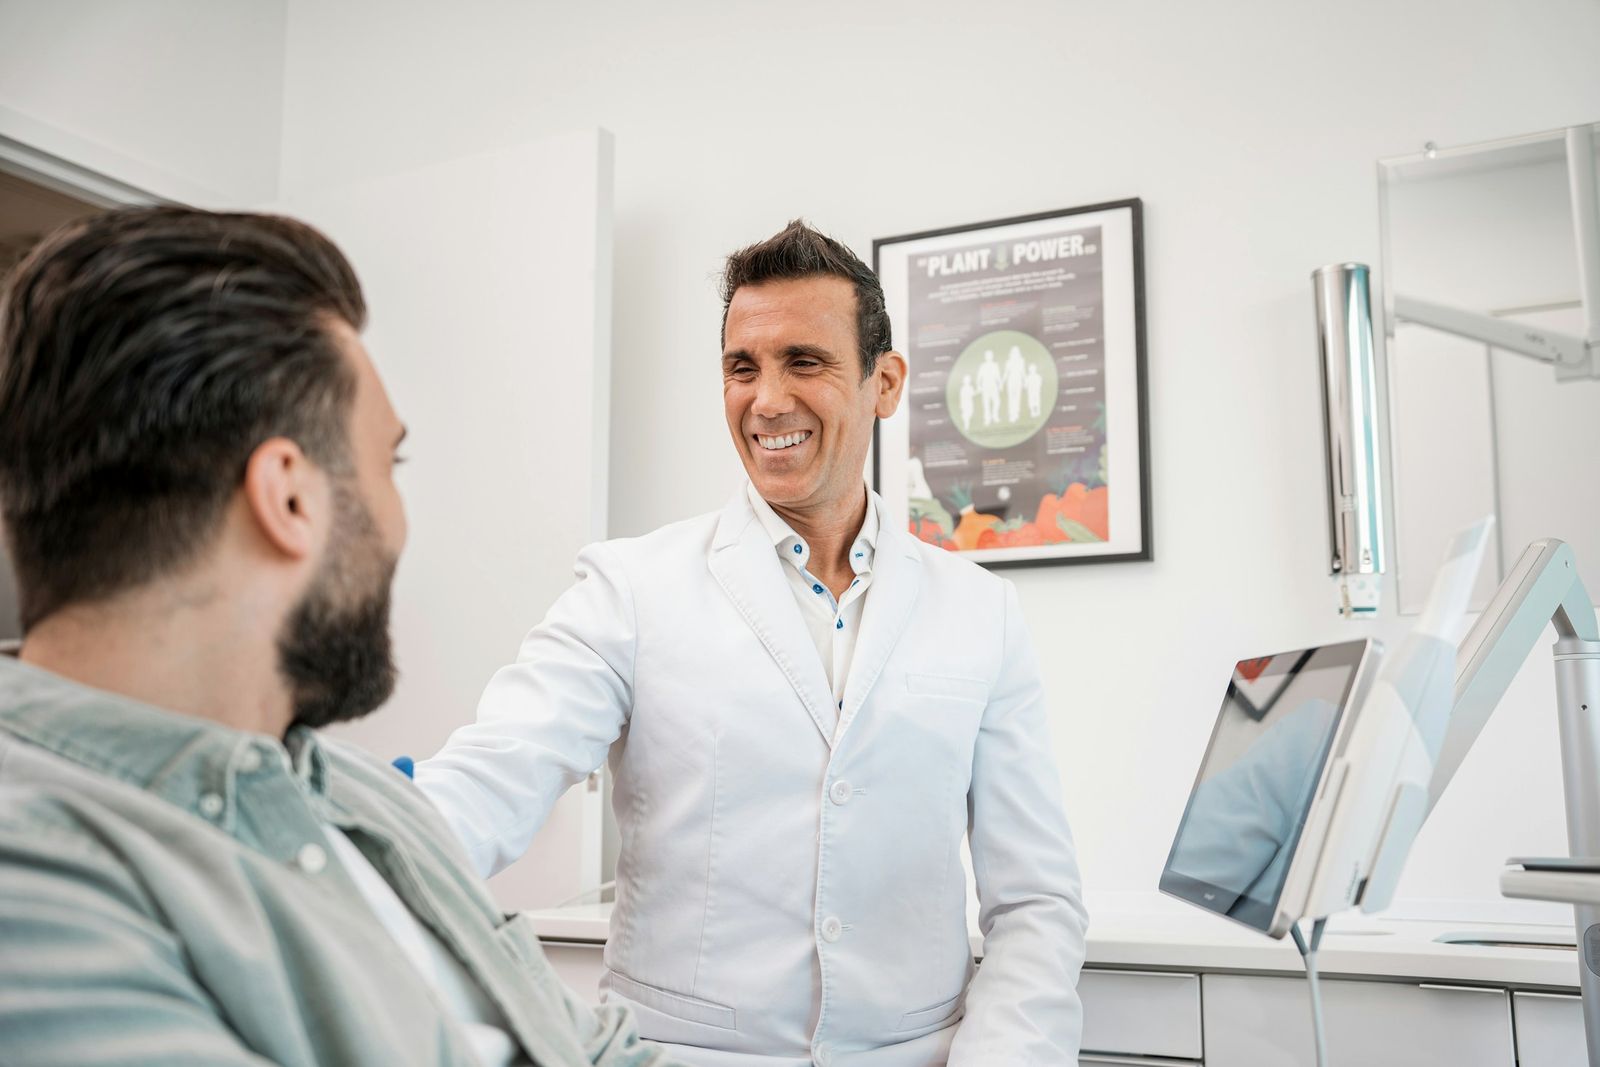
We start with a CBCT scan, a three-dimensional image of your jaw that shows how much bone there is, how dense it is, and exactly where the nerves and sinuses sit. We add digital scans of your teeth and photographs of your face at rest and smiling.
Then we talk. What is bothering you, what you want to be able to eat, how you want your smile to look. You leave with a clear explanation of what we found and what we recommend, and a written, itemized plan.

Smile design and planning
Your new smile is designed before anything else: where the teeth sit for your face, your lip line and your bite. Only then do we work backwards to where each implant must go to support it.
That order matters more than anything else in full-arch treatment. Because the lab is in the same building, the surgical and prosthetic plan is made together, from the same scan. A custom surgical guide is printed to place each implant exactly as planned.
Surgery day
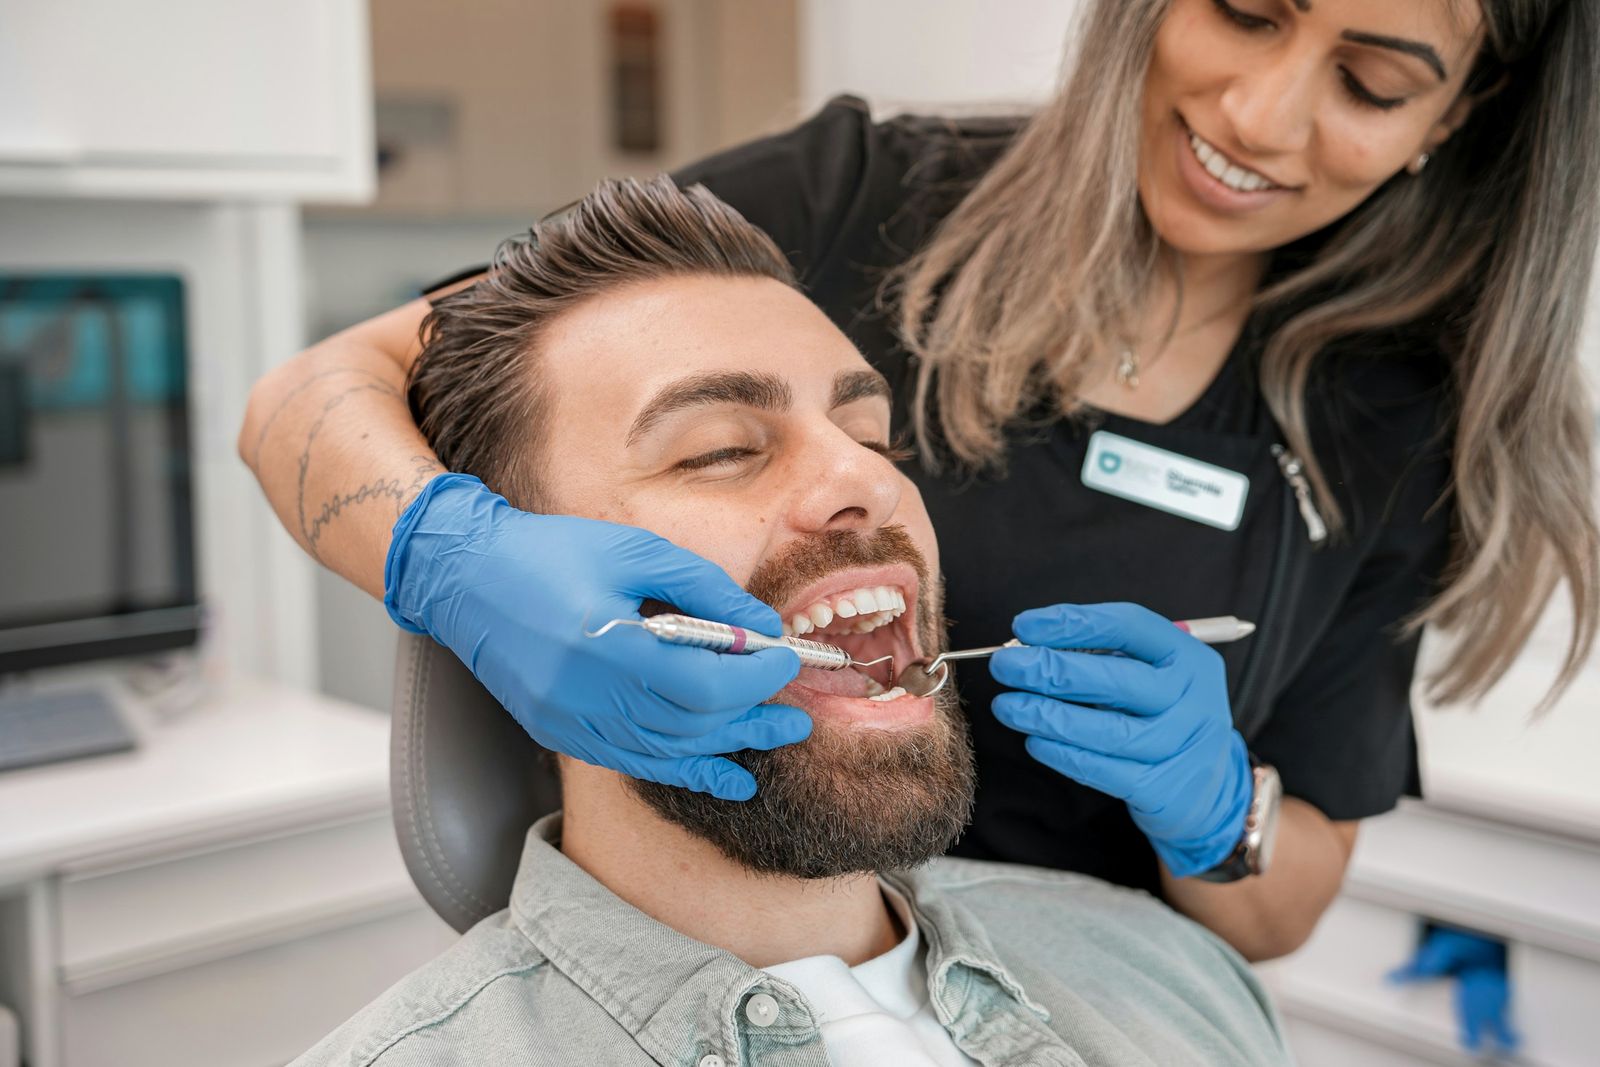
Any failing teeth are removed, the implants are placed through your surgical guide, and in most cases a fixed provisional arch is attached before you go home. Sedation options keep you comfortable throughout.
The provisional is a real fixed bridge. You will eat, speak and be photographed in it. It is made of a softer material on purpose, to protect the implants while they heal.
Healing
Over the following months the implants osseointegrate: bone grows onto the implant surface until the two act as one. It cannot be rushed, and your timeline depends on your bone and whether grafting was needed.
We see you through this period and adjust the provisional as swelling settles. Every note you give us, a sound that is hard to make or a spot that catches when you chew, feeds into your final design.

Your final arch
When healing is confirmed, your final arch is designed from everything the provisional taught us, made in our in-house lab, tried in and adjusted with you in the chair.
Zirconia is the strongest and most stain resistant. A hybrid is gentler on opposing natural teeth and simpler to repair. We recommend one and explain why.
Maintenance for life
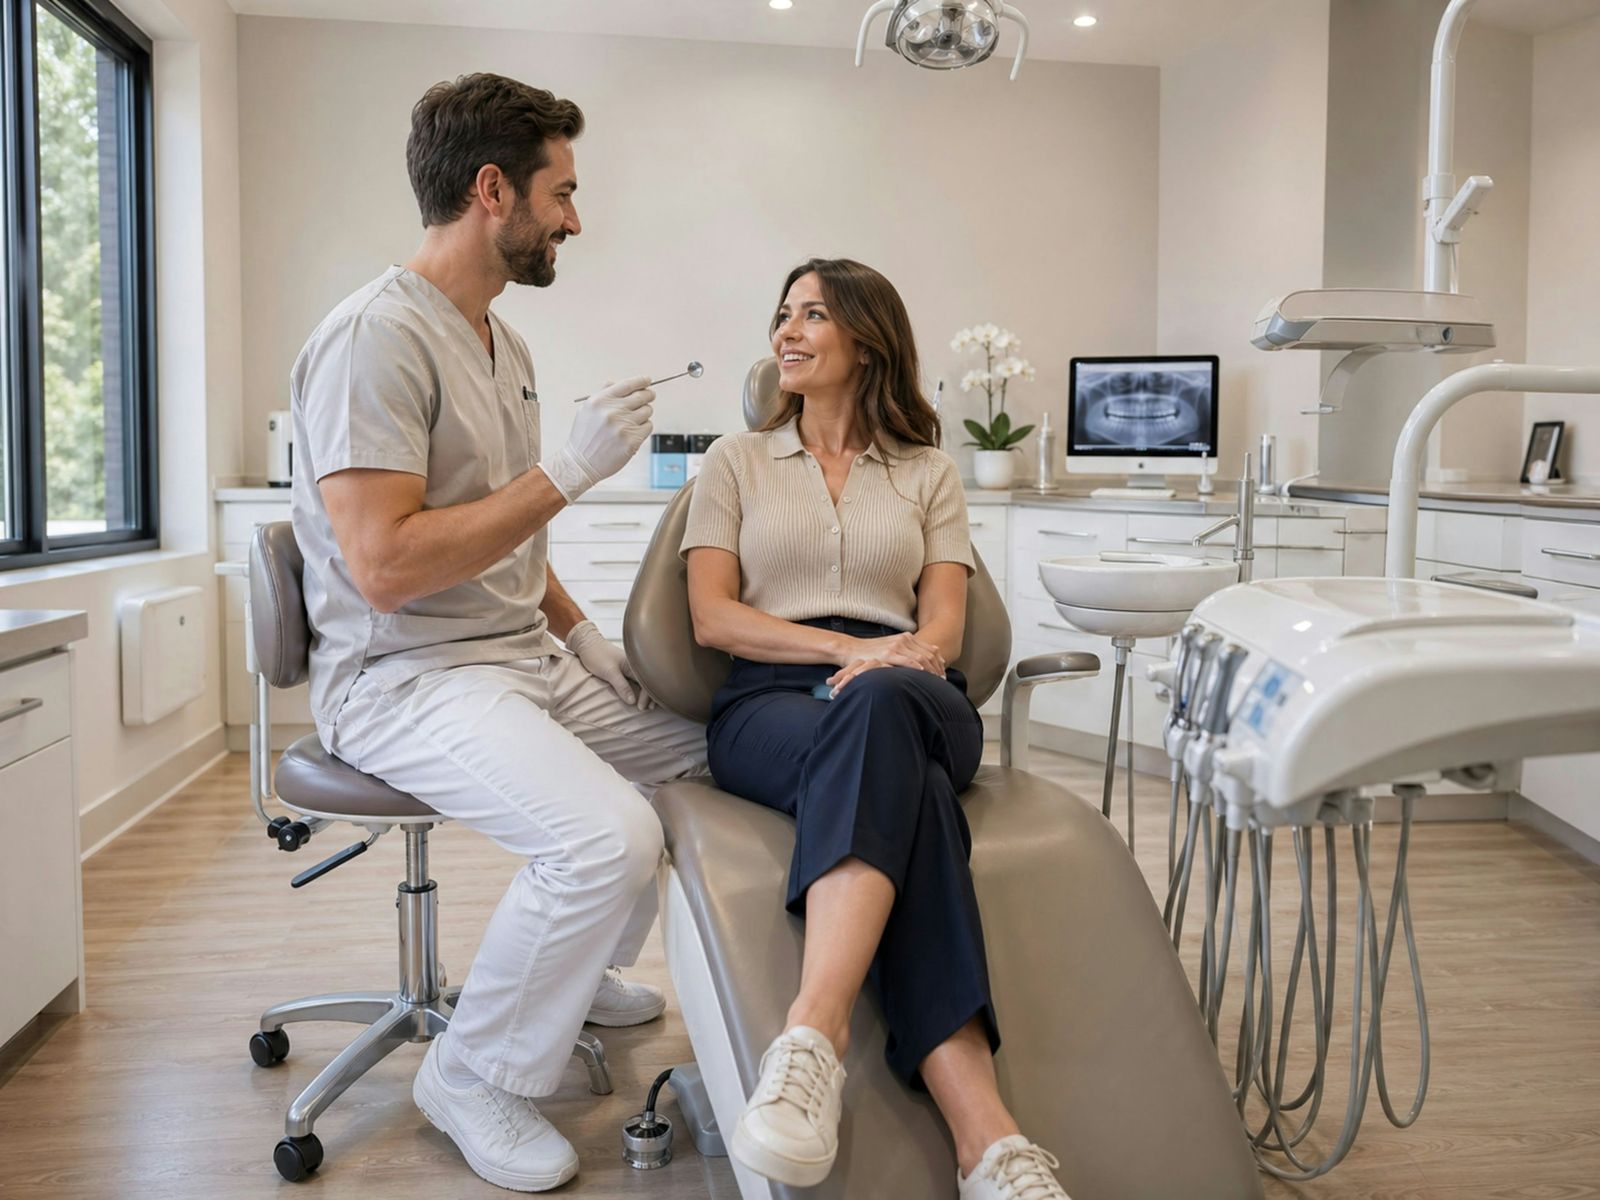
Full-arch teeth need care like natural teeth do. Regular maintenance visits include a professional cleaning around the implants, a check of the bite, and periodic removal of the arch for a deeper clean.
Because the lab is here, repairs and adjustments happen in-house, usually without sending anything away.
Fixed teeth on day one. Final teeth in months.
Every case is different, and your plan will give you dates specific to you. As a guide:
Consultation, CBCT scan, smile design and written plan.
Surgery day. Implants placed, fixed provisional teeth attached.
Healing, with check-ins and provisional adjustments.
Final arch designed, tried in and delivered.
Start with a consultation.
A 3D scan, an honest assessment and a written plan. You decide what happens next.